MIL-DTL-25579G
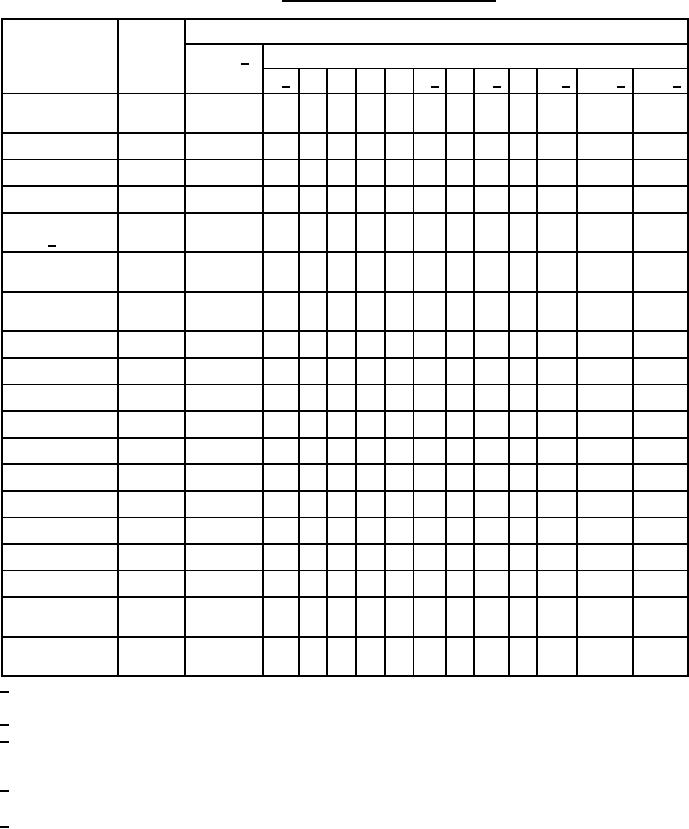
TABLE VII. Qualification inspection sequence.
Sample number
Required
Required
Assemblies (see table III).
Fittings 1/
qualification
test
(permanent)
test
paragraph
1 2/
2
3
4
5
6 3/
7
8 2/
9
10 2/ 11-16 3/ 17-18 4/
Examination of
X
X
X
X
X
X
X
X
X
X
X
X
X
product
Proof pressure
X
X
X
X
X
X
X
X
X
X
X
X
Stress degradation
X
X
Corrosion
X
X
Over-tightening
X
torque 5/
Elongation &
X
X
contraction
Volumetric
X
X
X
expansion
Pneumatic leakage
X
X
Hose conductivity
X
Impulse
X
Fuel resistance
X
X
Pneumatic effusion
X
X
Pneumatic surge
X
X
Low temp flexibility
X
X
X
Vacuum
X
X
X
Proof pressure
X
X
Leakage
X
X
X
Room temp burst
X
X
X
pressure
High temp burst
X
X
pressure
1/ Two fittings of each type of interface are required only when qualification of assemblies using permanent
2/ These samples shall be 30 inches in length for sizes -16Z, -20Z and -24Z.
3/ These samples shall have a 90°elbow fitting on one end and a straight fitting on the other end. If
qualification is desired for both bent tube and forged elbow, then half of the samples shall use the other
type. In this case, sample 6 may have either a bent tube or a forged configuration.
4/ These samples are required only when extension of qualification is desired for another type of interface
(see 4.2.2.1).
5/ Not applicable to flange fittings.
15
For Parts Inquires call Parts Hangar, Inc (727) 493-0744
© Copyright 2015 Integrated Publishing, Inc.
A Service Disabled Veteran Owned Small Business